
DIY Chicken Coop
Want to build one of your own? The plans for this coop are available.

"Honey, if we get chickens, you could build the coop." Challenge accepted.
That was how it all began. For me this was initially just a fun project, but before long I realized the impact this would have on my kids, from organic food to sustainability and environmental impact.
Below are some of the tools and materials I used in this project. TrevorMade is reader-supported. If you purchase something from the links on my site, I may earn a small commission to save toward my next tool.
As with all my projects, I began by planning. We researched all about coop styles, chicken runs and chicken care. Over the course of several days all our ideas merged into the final design for our coop. Although technically large enough for over 12 chickens, our little flock would live very comfortable in this "chicken condo".
Every good project begins with a good foundation, and a good helper. The floor of the coop will be raised about 20" above the ground both to deter predators and to give the hens a shady place to hang out during warm weather.
As with most of my projects, I do tend to overbuild a little bit but I really don't want to deal with structural issues so I used 4x4 legs that I will prop up on blocks to level and prevent rotting, and 2x4 framing.

The walls were a little tricky and took a lot of pre-planning to get the windows and door frames exactly how I wanted them. These two walls include two small windows on front with the chicken door, and a larger window and human sized door on the side.
I used 2x2's to frame the walls. 2x4's would have been more expense, a lot heavier, and sacrificed interior space. And I think 2x2's will be plenty strong for this application.

The framing went very quickly thanks to my air compressor and nail gun. A little geometry and I was able to design and construct the roof trusses myself. The peaked roof will not only look cute but allow for some perch room for the hens.
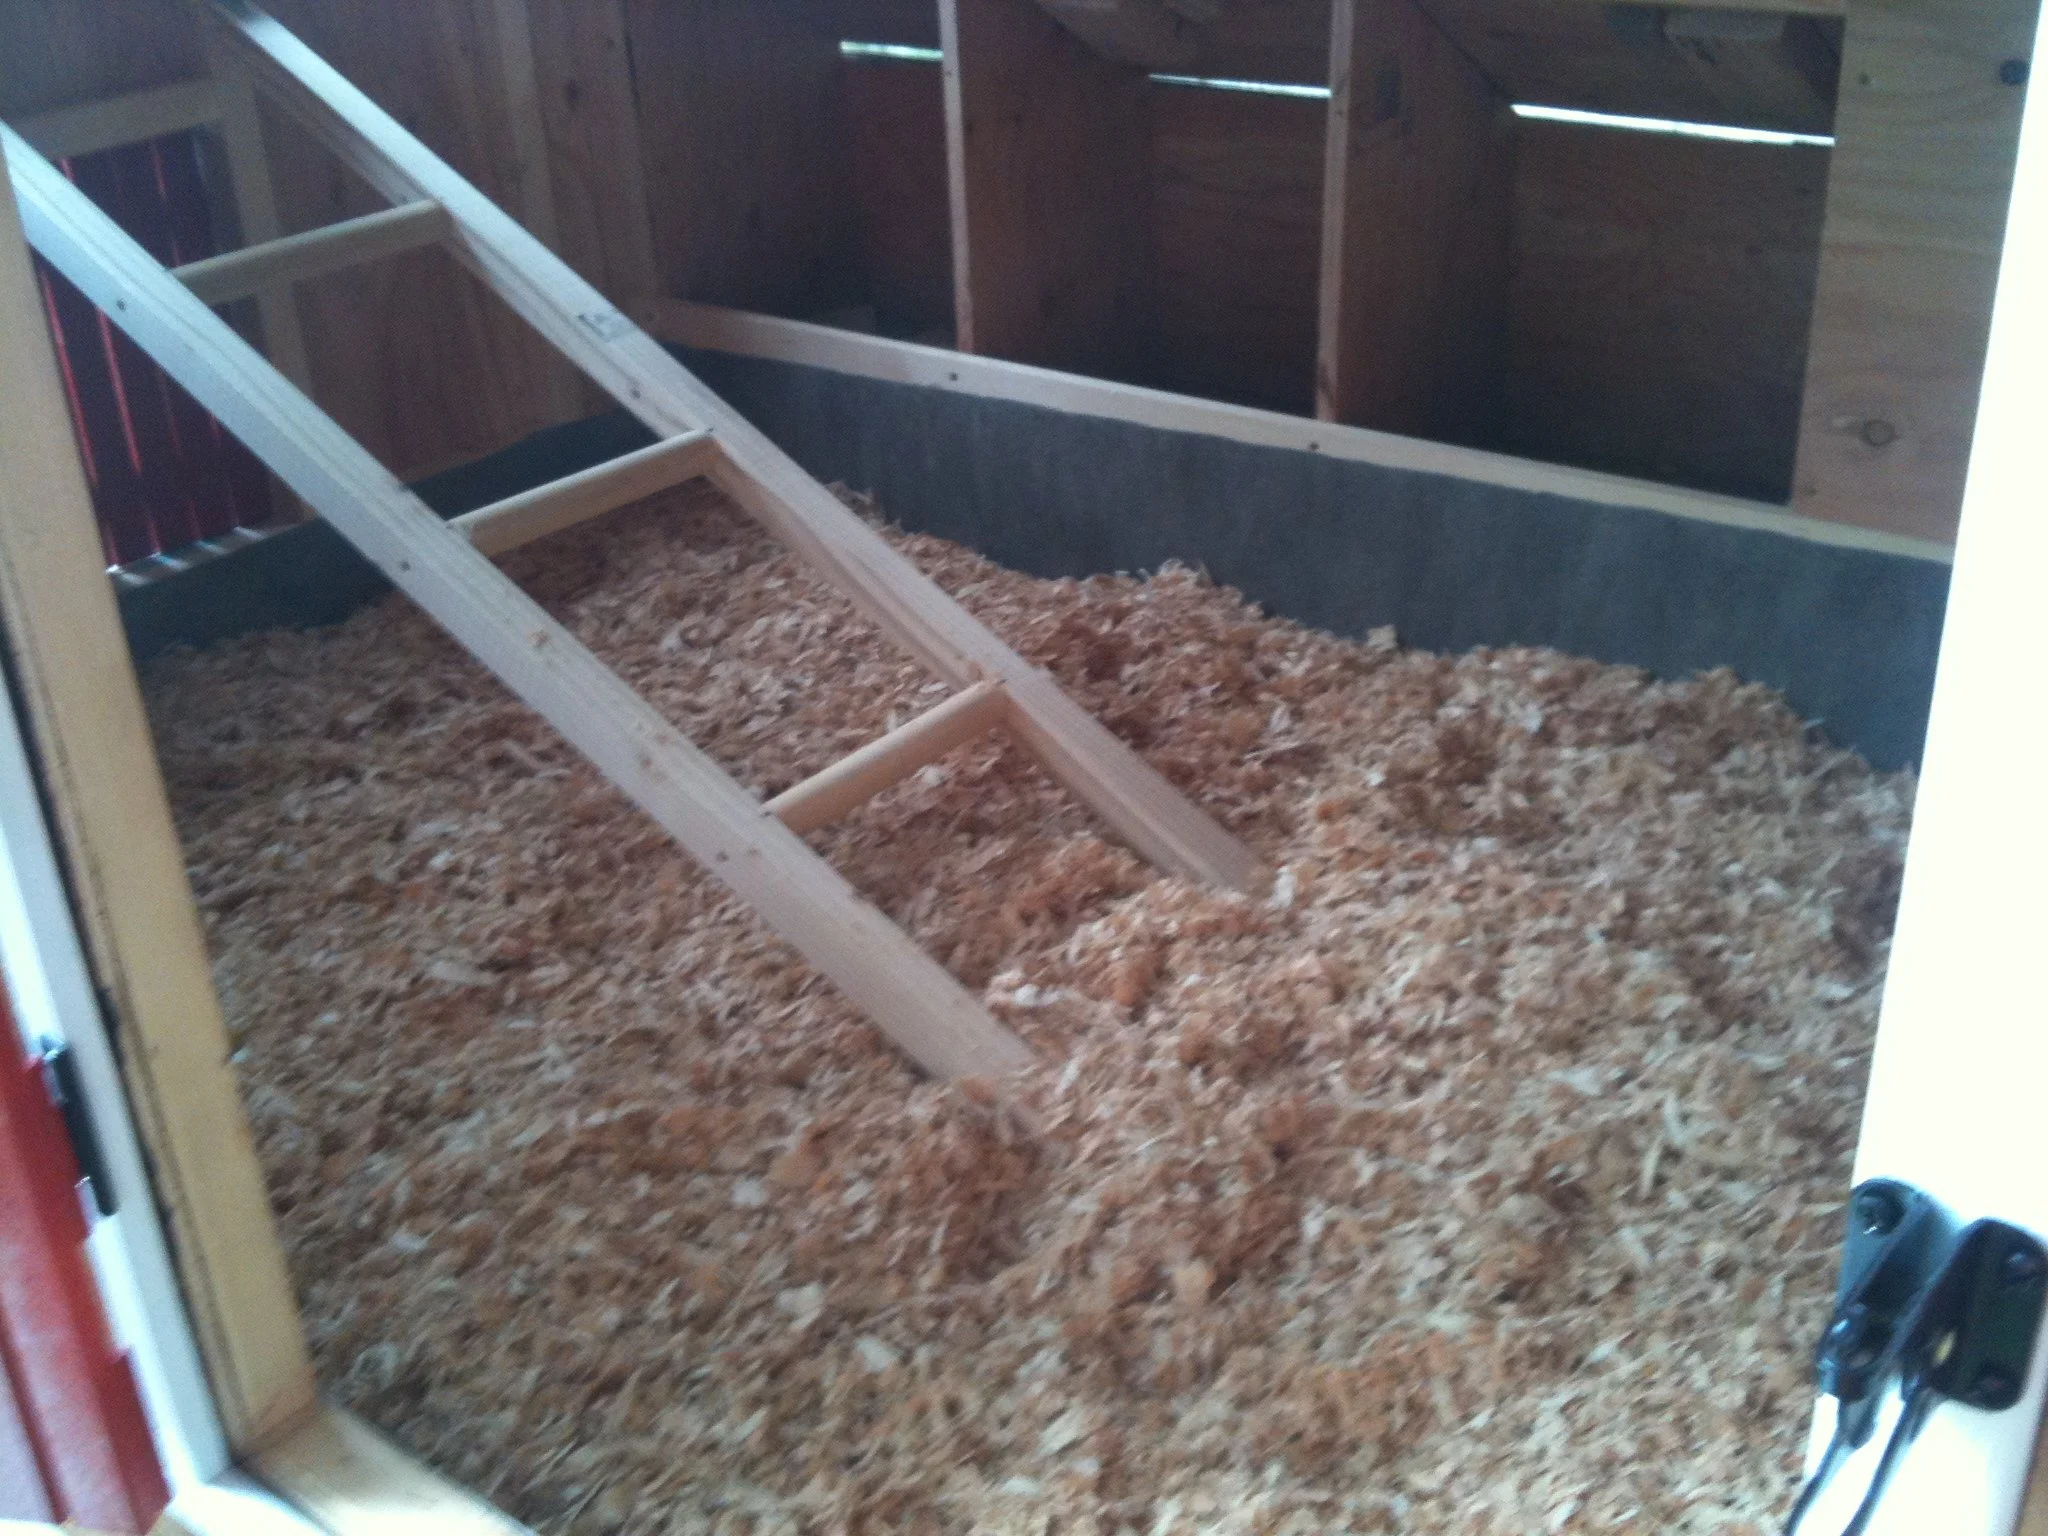
You can also see the initial stages of the "nests". Generally nests can support 2-3 chickens each which is more than enough for our needs. These nests will have a hinged lid allowing us access from the outside for easy egg collection.

I ended up choosing metallic roofing for this project. Not only was it relatively inexpensive, it was super easy to install, and very water proof.
I also used 3/8" sheathing to wall in the framing. Again, trying to use 3/4" sheathing would have been overkill and a lot more expensive. I designed the coop specifically to be 48" wide, 72" long, and 48" inches high (not counting the attic). This made it super easy to use 4' x 8' sheets of sheathing with practically no waste.
I started by clamping a solid piece in place then using a pencil to trace all doors and windows from the inside. Then I took it down and installed 1/2" hardware cloth over all windows. When I'm done, this will be a safer place to live than our house. Then I used my jig saw to cut out the doors and windows and permanently installed the wall sheathing.
It is super important that the coop remain ventilated but still dry on the inside for the chickens' health. To that end I am wrapping the exterior in tar paper before installing any siding. All joints are covered so we should be good.

Here is the fun part because we get to start the finishing touches. I used cedar shingle to cover the exterior walls. Very quick and easy with my air compressor and stapler. My miter saw made quick work of shingles along the roof line. I also used some 1x2 furring strips and white paint to add some pretty nice looking molding around the base, windows, and doors.

I lined the interior with marmoleum, a non-toxic, waterproof material that will allow me to wash out the coop periodically and protect the sub floor. The marmoleum extended along the floor and about 6" up on all sides creating almost a bath tub which we then filled with pine shavings.
Periodically we will rake through the shavings which will keep it looking and smelling clean. Then twice a year we will replace all the old shavings. The cool thing is the old shavings go straight into my compost bin full of chicken droppings that are great for compost.
Finally, we painted the shingles, added the doors and decorative window shutters including some cool black hardware.
I also used some 2/2's and some old pallets to create my fun white picket fence chicken run. The run is also enclosed by hardware cloth making the only access points through locked doors. Nothing bigger than a lady bug is getting in here without permission.
Welcome home, chickens!
