
DIY Chalkboard Sign

As we were preparing for the arrival of our third little one, my project list was extensive. There were so many things Jess wanted done so everything would be just perfect, so when she asked me at the last minute if I could also make her a chalkboard sign for our front door, I said “sure, Hun.”
The more I thought about it, though, the more I realized this would actually be pretty easy, and not only that, but I was pretty sure I already had everything I needed to do this.
A quick word about some of the tools and materials I used for this project. I have to say my most versatile tool I own is my Dewalt power drill. I use it on almost every building project I do. If you don’t already own one, I highly recommend it. And if you are able, spring for a little higher end one. Mine is 20 volt and really sinks those screws in easily. And I have had it for years. I am particular to Dewalt because I just don’t have the issues I have had with other brands. I get nothing for plugging Dewalt, although I might get a small commission with the links below.


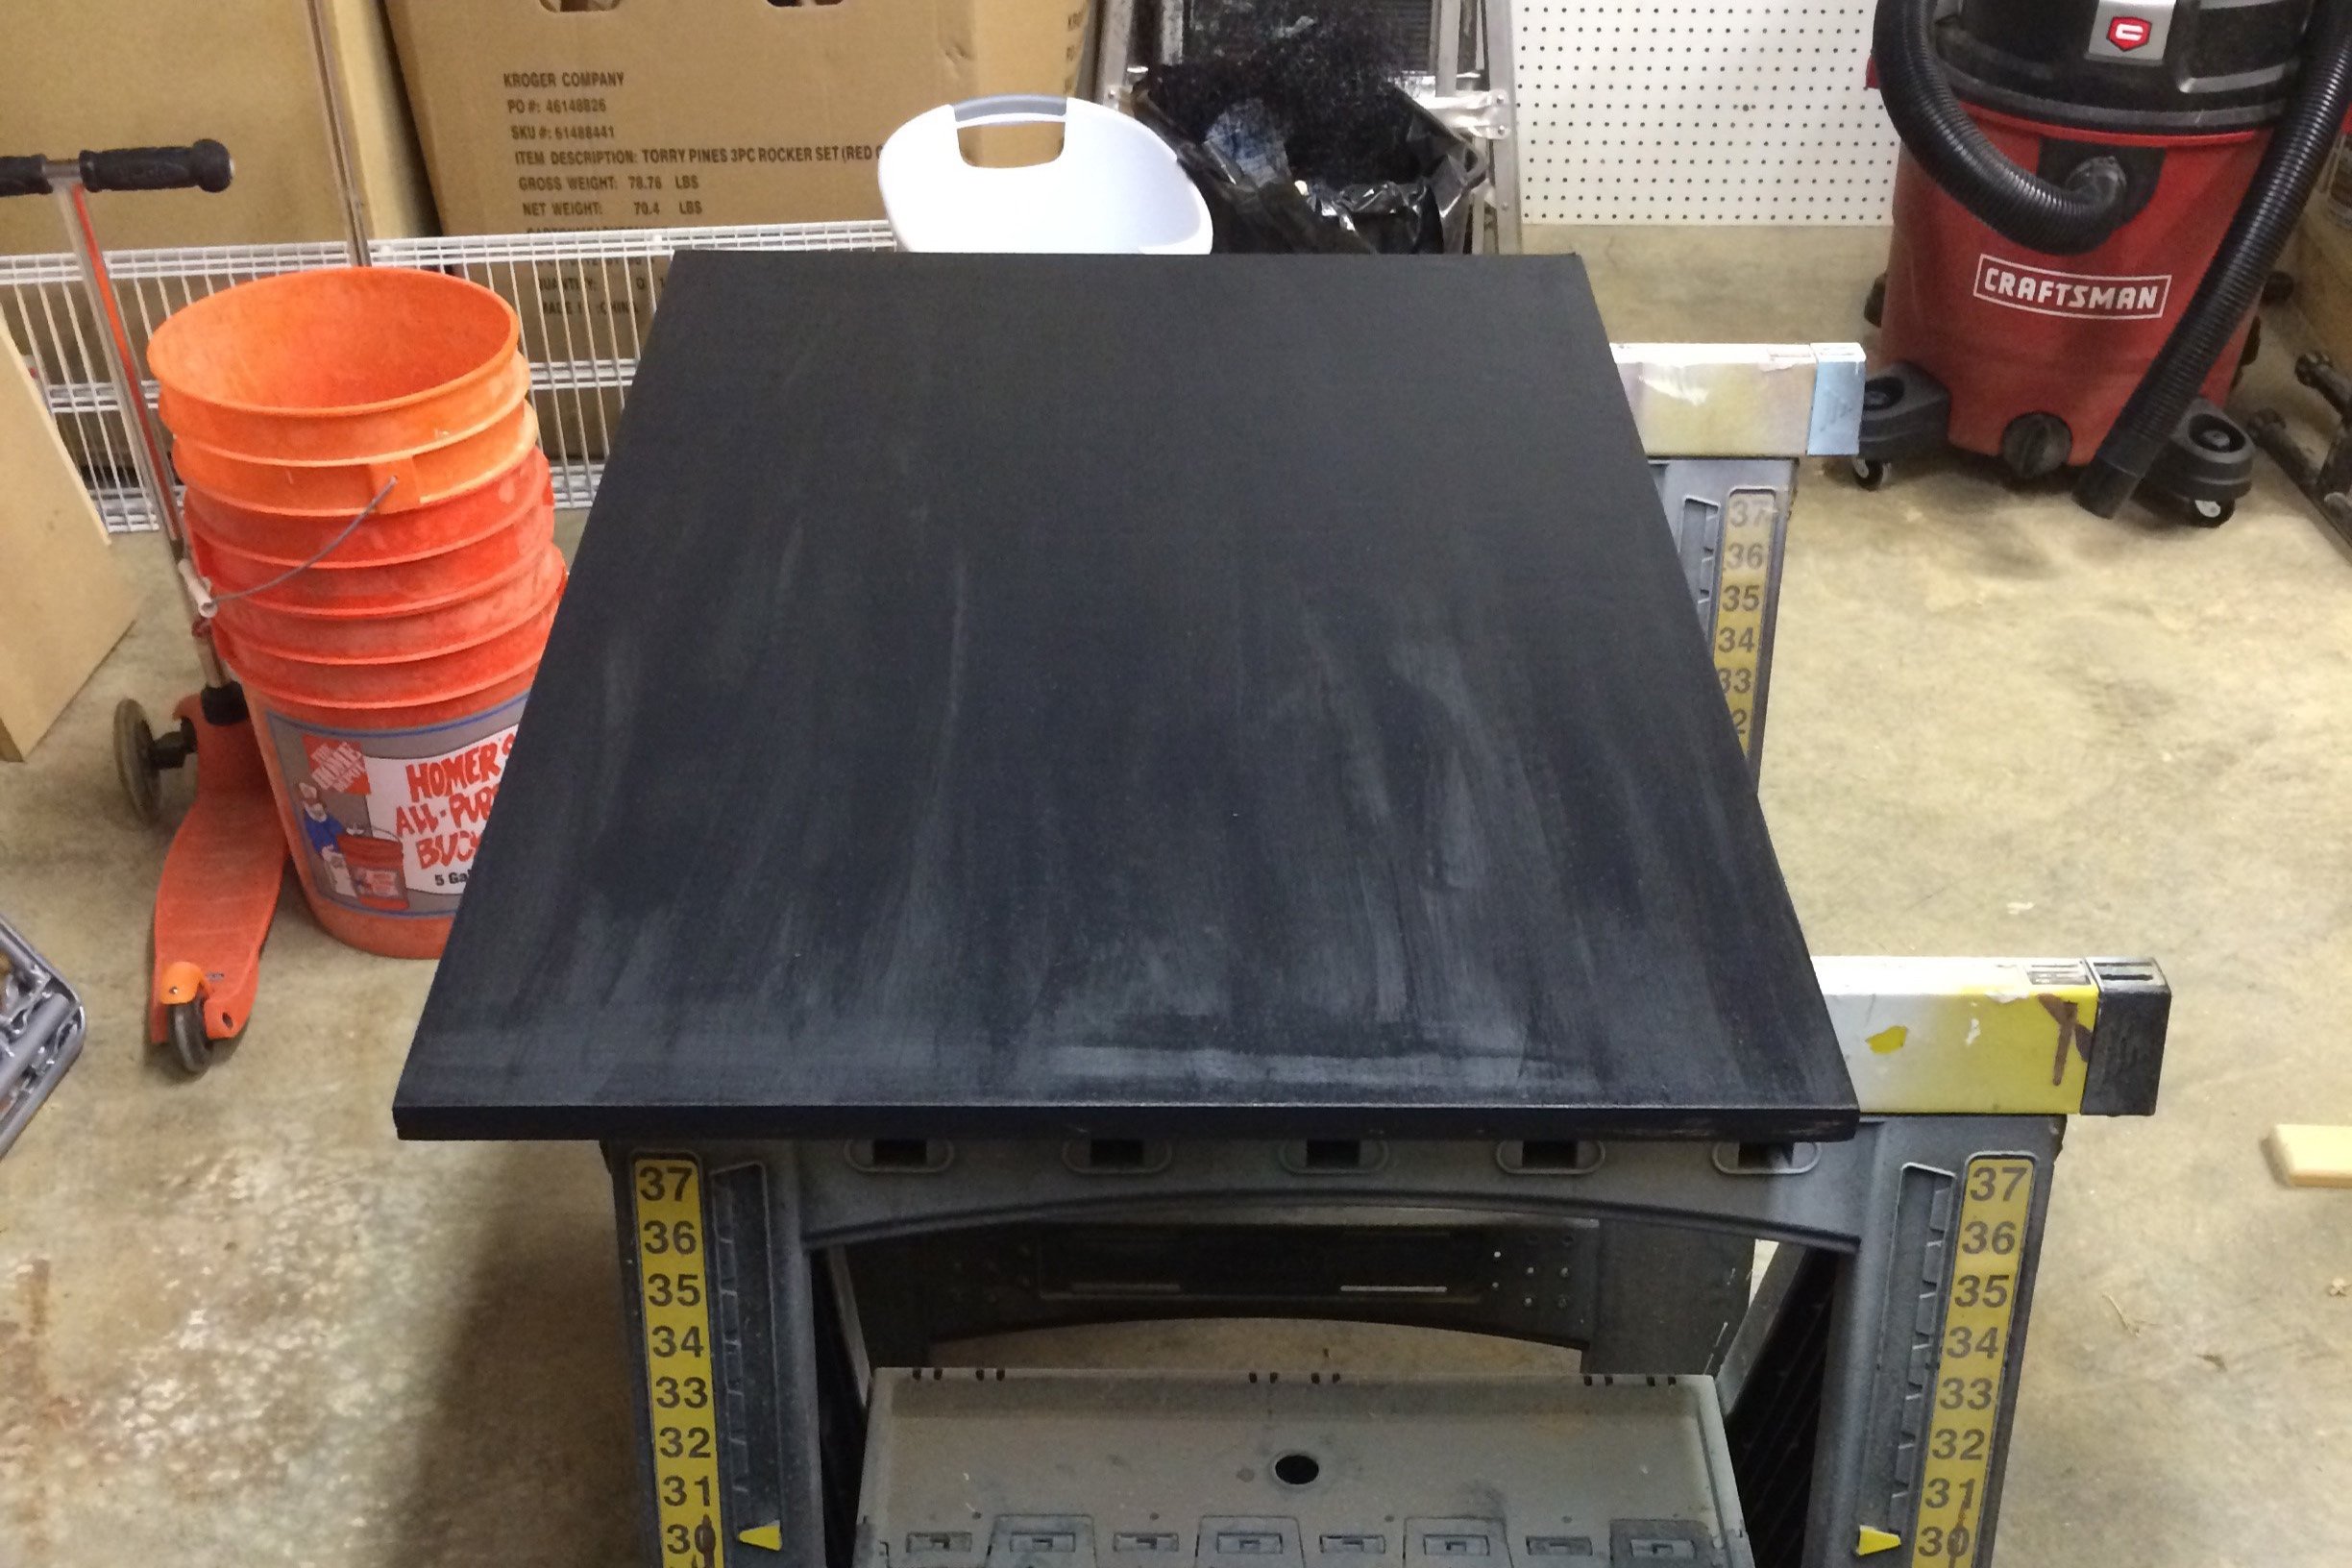
This DIY Chalkboard Sign project started with a simple piece of plywood. I cut it to the dimensions I wanted and gave it a good sanding. I wasn’t worried too much about the edges. It was more about getting the surface smooth for painting.

As it happened, I had some leftover chalkboard paint from another project. I love this stuff. You can turn any surface into a chalkboard for hours of fun for your kids. I applied several coats to make sure I had full coverage.
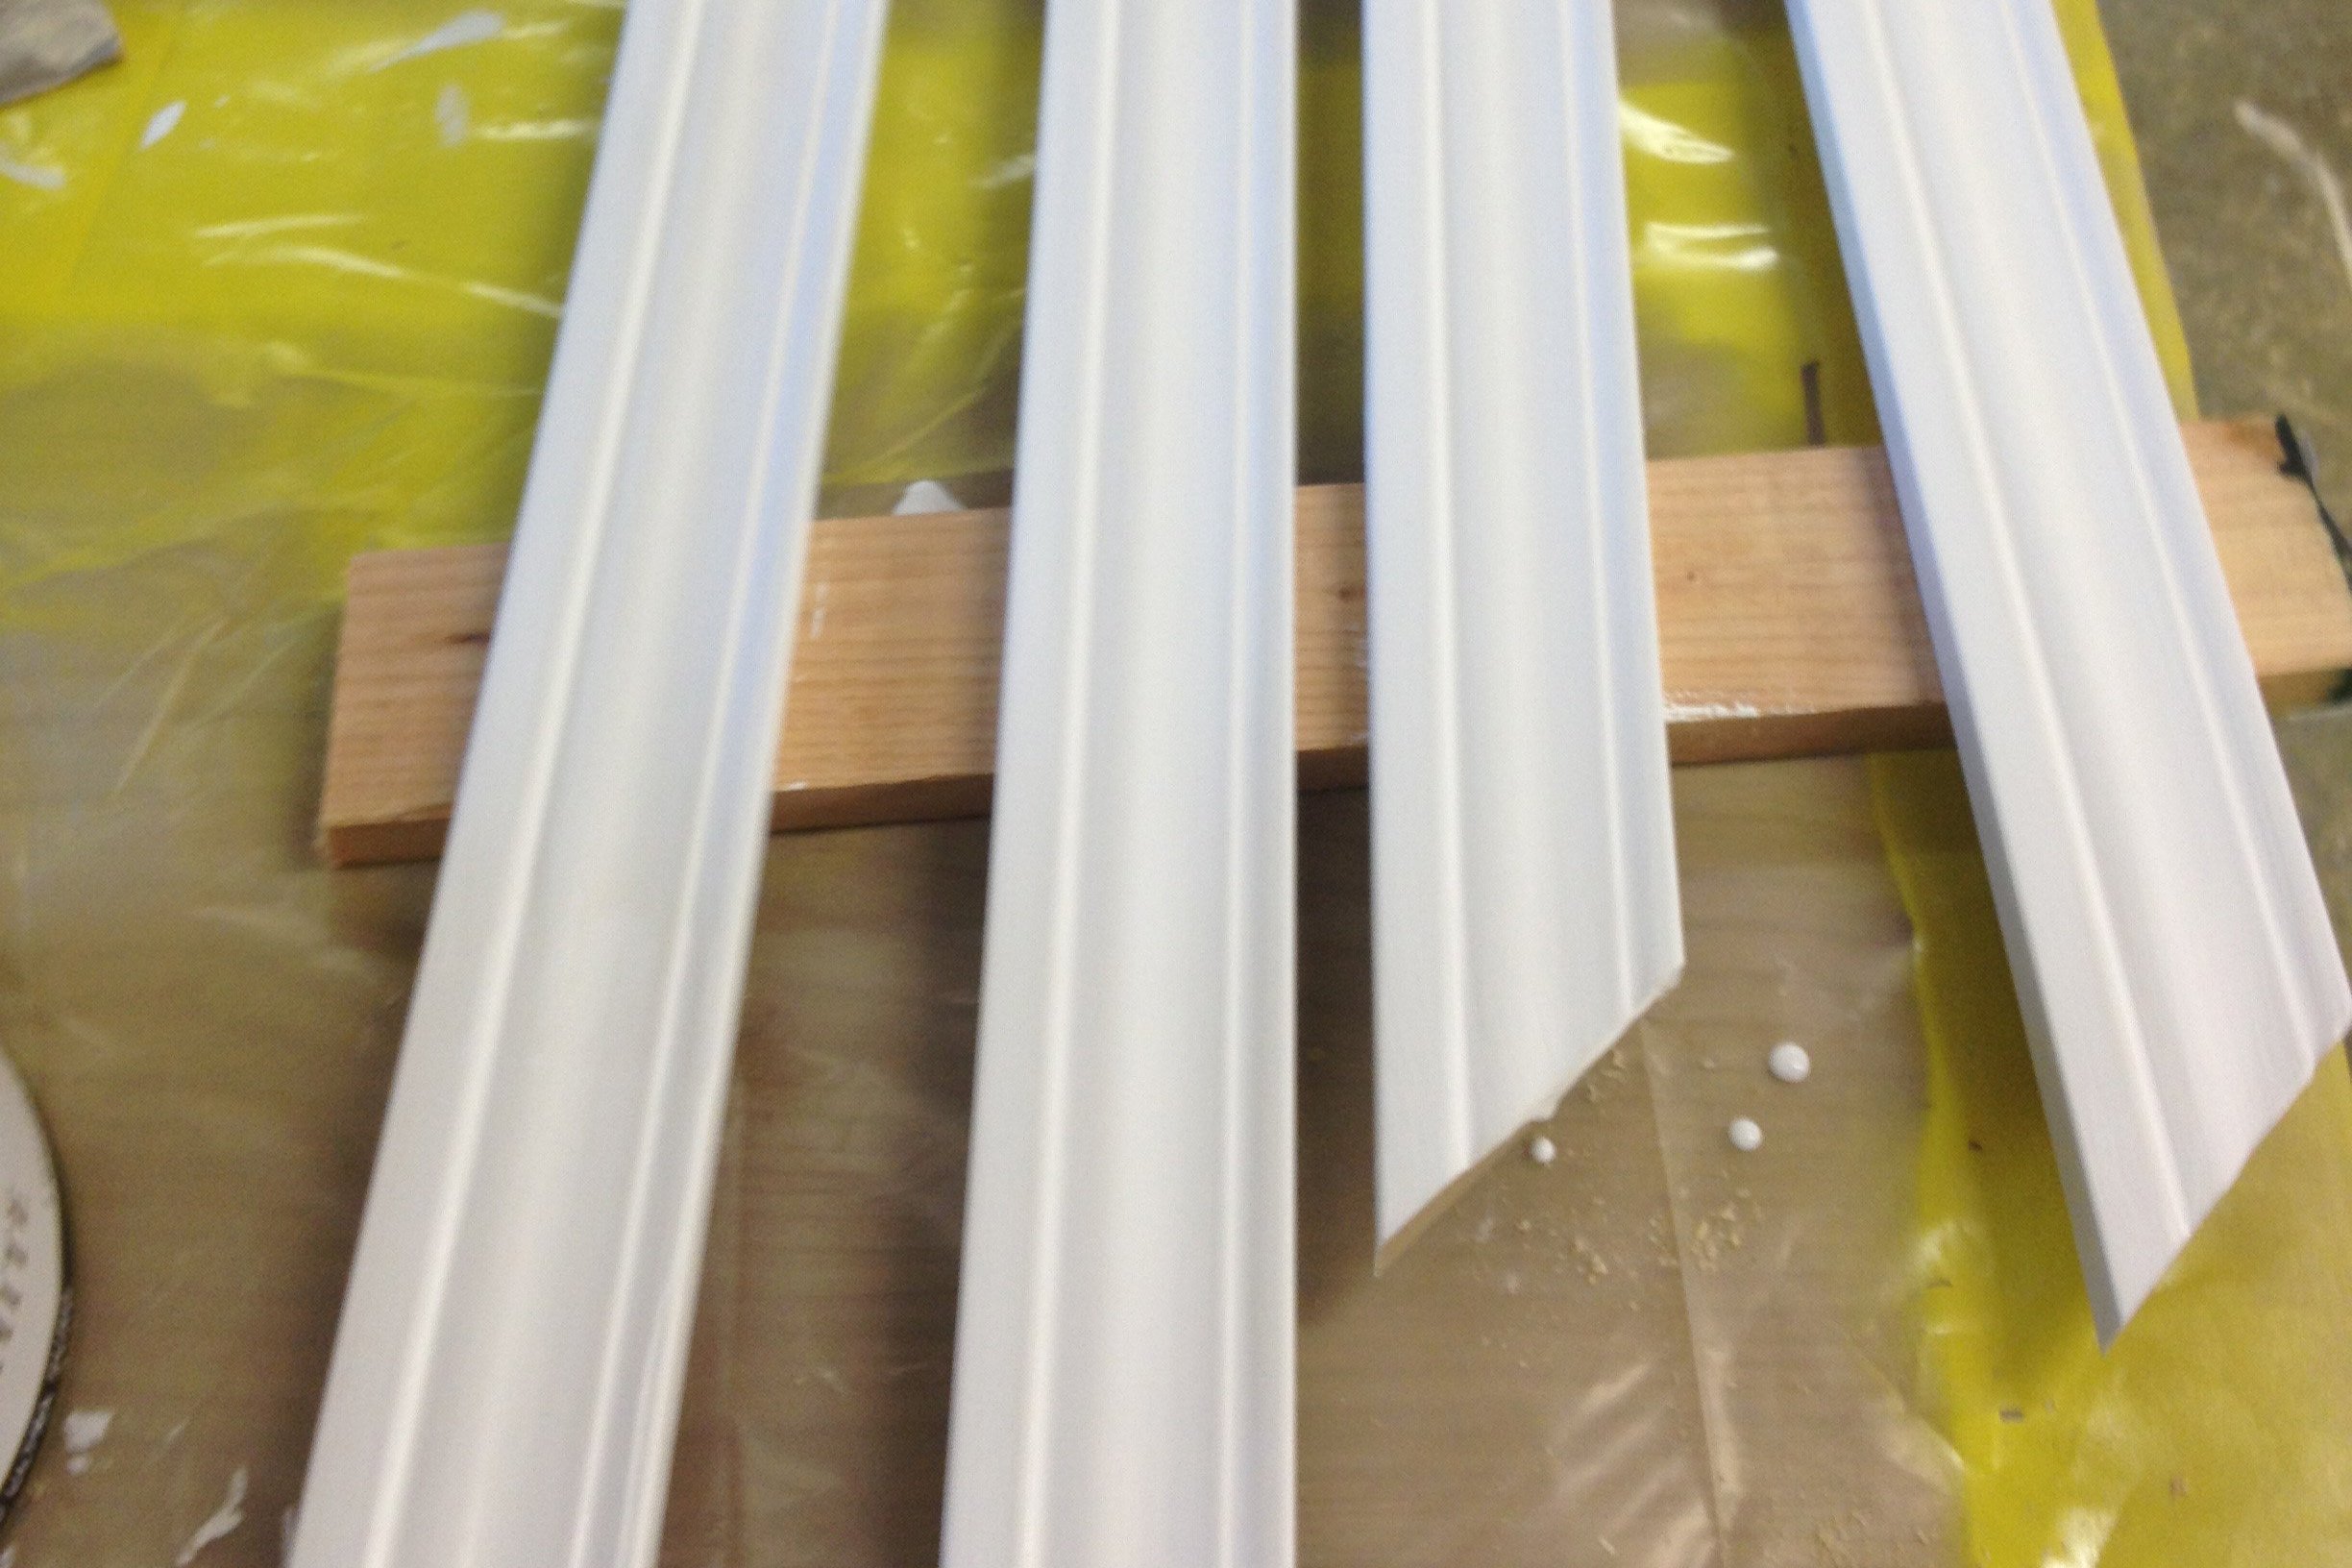
For the border I had some leftover molding we had used inside the house. I cut each end to a 45 degree angle for some cool looking mitered corners. Measure twice, cut once.
I used some wood glue and a few short screws from the back to secure the frame on to the plywood and let that dry for a bit.

And there you have it. The key to a good DIY Chalkboard Anything is to prime the board with chalk first. Using the edge of a piece of chalk, cover the whole board, then erase it. This will prevent any future drawing from leaving a permanent ghost image.
Not only was this a great sign to use for all occasions (holidays, birthday parties, etc.) but we incorporated our house number as well. Pretty great project for something I did in a couple of days in my spare time with scraps I had on hand.
